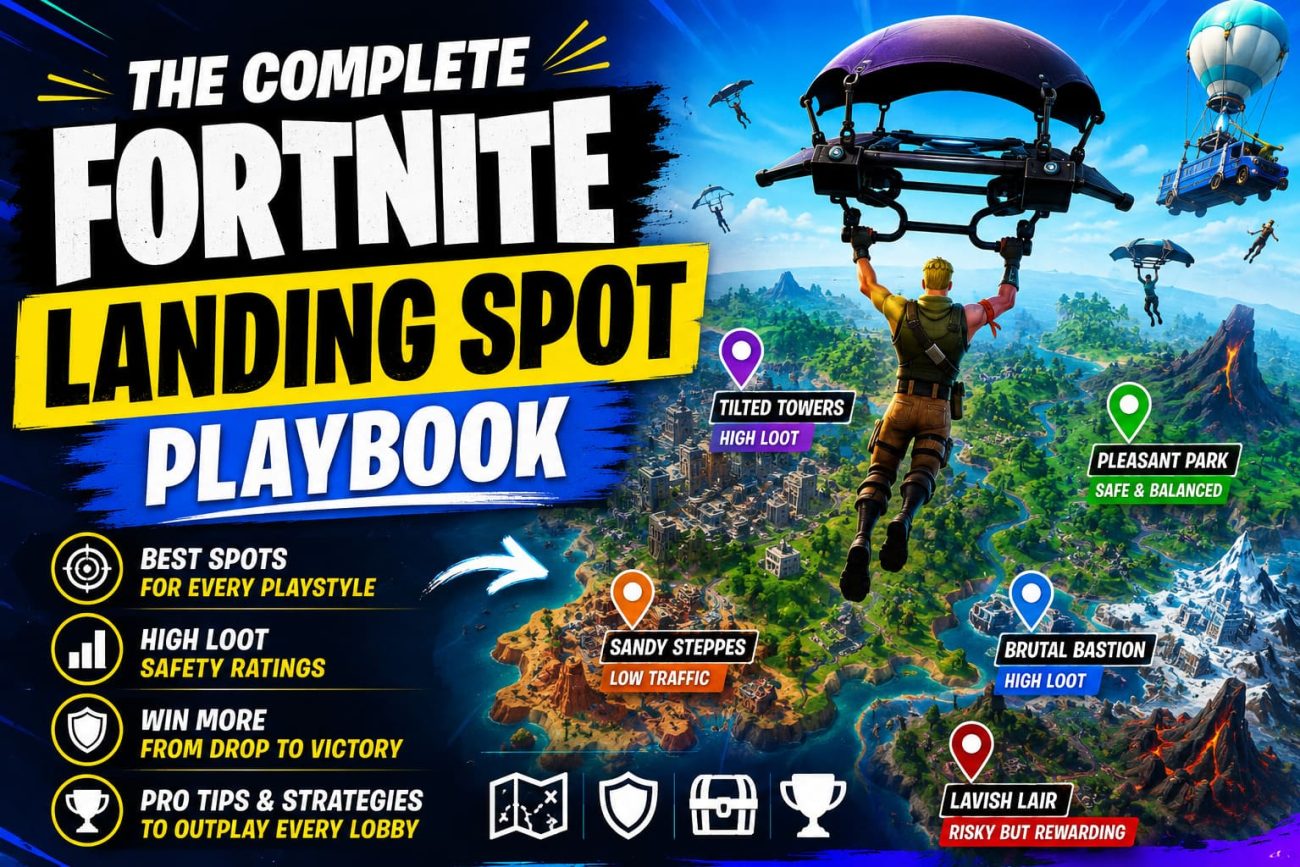
There’s a specific kind of dread that hits right as the Battle Bus doors creak open. You’re staring down at the map, the timer in your head ticking, and you have maybe three seconds to make a decision that will define the next five minutes of your match — sometimes the next twenty. Land wrong, and you’re eliminated before you’ve even found a weapon. Land right, and you’re stepping into the late game with a full loadout, shields topped off, and the confidence of someone who actually has a plan.
Landing spot selection is one of the most underrated skills in Fortnite. Everyone talks about build fights, edit speed, and aim training, but almost nobody breaks down the decision-making that happens in that first free-fall. This guide is meant to fix that. Whether you’re brand new to the island, grinding through Arena, or chasing a competitive slot, this playbook will walk you through how to actually think about where to drop — not just where the “pro players” happen to land this week.
Why Your Landing Spot Matters More Than You Think
New players often treat landing as a coin flip. Jump out, hold a direction, hope for the best. But your landing spot quietly decides several things at once:
- Your loot ceiling for the first two minutes of the game
- Your risk of an early elimination before you’ve built any advantage
- Your rotation options once the storm starts closing
- Your mental state for the rest of the match — a clean drop builds confidence, a chaotic one puts you on the back foot
Think of your landing spot as the opening move in a chess match. You wouldn’t play your whole game on autopilot after a bad opening, and you shouldn’t expect a strong match after a careless drop either. The good news is that landing decisions are learnable. There’s a repeatable framework underneath what looks like random chaos, and once you understand it, you’ll start making sharper calls every single game.
Understanding Your Skill Level (Be Honest With Yourself)
Before picking a spot, you need an honest read on where you actually are as a player — not where you wish you were. This isn’t about ego; it’s about survivability. Landing like a competitive player when you can’t yet win a 50/50 fight is how you end up spectating by minute two.
Beginner
You’re still learning basic building, your aim is inconsistent, and your main goal each game should be survival and repetition. You need games where you touch loot, practice building under zero pressure, and get comfortable with rotations. Elimination count doesn’t matter yet — playtime does.
Intermediate
You can build a basic box fight, you understand edited walls and ramps, and you’re starting to win some fights but still lose fights you probably should win. Your goal is calculated risk — spots with real loot and a chance of contact, but not guaranteed chaos.
Advanced / Competitive
You have consistent mechanics, strong game sense, and you’re playing for placement points, eliminations, or scrim practice. Your goal is efficiency and information — spots that maximize your loadout speed and your read on where enemy squads are rotating from.
Knowing which category you fall into changes everything about how you should read the map. A “great” landing spot for a competitive player can be an absolute deathtrap for someone still learning to build a 90.
The Core Principles of Smart Landing
Regardless of skill level, every good landing decision runs through the same mental checklist. Once these become automatic, you’ll make better calls without even thinking about it.
1. Loot Density vs. Contest Risk
Every named location on the map exists somewhere on a spectrum: high loot / high contest, or low loot / low contest, and everything in between. The mistake most players make is only looking at loot density and ignoring contest risk. A location might have fifteen chests, but if forty players are landing there too, your odds of surviving the first ninety seconds crater.
The better question isn’t “where’s the loot?” It’s “where’s the best loot-to-player ratio?” That’s the real metric that separates good drops from bad ones.
2. Storm Circle Positioning
Look at the bus path before you jump. The storm’s first circle is randomized within a fairly predictable range relative to that path, and landing in a location that’s likely to end up centrally located saves you rotation time later. Landing on the map’s outer edge might feel safe early, but if the circle pulls away from you, you’re now sprinting (or worse, driving through open ground) just to stay in bounds.
3. Rotation Potential
A good landing spot isn’t just about the first two minutes — it’s about what your movement options look like five minutes later. Ask yourself: does this location have vehicles nearby? Natural cover leading toward the circle? Water routes, zip lines, or launch pads? A spot that loots you up but leaves you exposed in an open field when the storm starts closing is only half a good decision.
4. Reading the Bus Path
This one deserves its own section, so let’s get into it properly below. But as a quick principle: the earlier you jump relative to the bus path, the more predictable your surroundings will be, since fewer squads have had time to commit to a direction yet.
Best Landing Spots for Beginners
If you’re new, your priority list should look like this: low player density, decent loot, minimal building requirements to survive. You are not trying to win fights right now — you’re trying to get reps in.
Edge-of-Map Locations
Almost every Fortnite map has locations tucked toward the outer edges — coastal towns, isolated rural buildings, or small clusters away from the bus’s main path. These rarely see more than a squad or two land there, which means:
- You’ll usually find at least a shotgun or SMG and some shield potions
- You get uninterrupted time to practice building basic structures
- You can rotate inward at your own pace instead of being forced into fights
The tradeoff is that loot quantity is lower than named cities, and you’ll need to rotate further to stay in the circle. That’s a fair trade for a beginner — survival time is worth more than loot volume right now.
Small Named Locations (Not the Big Cities)
Every map has a tier of “medium” named POIs — smaller than the flashy central locations but still guaranteed to spawn chests and floor loot. These are ideal for beginners because:
- Loot is more concentrated than random edge buildings
- Fewer squads contest them compared to mega-POIs
- The building layouts tend to be simpler, meaning less overwhelming choice paralysis when you’re deciding where to loot first
What Beginners Should Avoid
Skip anything advertised as a “hot drop” or a central mega-city landmark. These spots are magnets for aggressive players who will not hesitate to third-party your fights or push you while you’re still opening chests. There will be plenty of time to test yourself there once your fundamentals are solid.
Best Landing Spots for Intermediate Players
Once you can comfortably win 50/50 fights and build under pressure, it’s time to introduce controlled risk. Intermediate landing spots should be a step up in loot and contest, but still give you an escape route if things go sideways.
Mid-Tier Named Locations
These are the second-tier cities — bigger than beginner-friendly towns, but not the map’s flashiest, most iconic landmark. You’ll typically find:
- 15–25 chest spawns
- A realistic chance of 1–2 other squads landing nearby (not five)
- Enough structures to practice mid-fight building and rotations
The key skill you’re developing here is loot efficiency under light pressure — learning to grab weapons fast, keep an ear out for footsteps, and disengage from fights you don’t need to take.
Locations With Natural Choke Points
Look for POIs with narrow hallways, single-entrance buildings, or elevated positions. These let you control fights instead of getting caught in the open. Practicing your landing choice around defensible terrain is a habit that will serve you all the way up into advanced play.
Split-Squad Drops
If you’re playing duos, trios, or squads, consider having your team split into two smaller groups landing at adjacent points of interest, then regroup after looting. This doubles your loot exposure without doubling your risk, since you’re not putting your entire squad’s fate on a single roll of the dice. Just make sure your team agrees on a rally point before you jump.
Best Landing Spots for Advanced and Competitive Players
At the top level, landing spot selection becomes less about “where is the loot” and more about “where is the information and tempo.” Competitive players are optimizing for placement points, elimination points, and consistent access to a controlled fight.
Contested Mega-POIs (When You’re Ready)
The map’s flashiest, most iconic central location will always draw the most attention — and for advanced players, that’s exactly the appeal. Winning fights here early gives you:
- Fast access to a near-complete loadout, often including rare or exotic items
- Elimination points if you’re playing a competitive ruleset
- A psychological edge, since surviving a hot drop often rattles opponents you meet later
This only works if your mechanics can back it up. If you’re not confident you can win two or three fights in a row with limited materials, this drop will simply cost you the game.
Edge-of-Circle Predictive Drops
Competitive players increasingly use bus-path math to predict where the storm is likely to center, then land just outside the highest-contest zone but inside the probable final circle. This gives you:
- Fewer initial fights than a hot drop
- A shorter rotation later in the match
- More flexibility to third-party fights happening nearby without fully committing early
Loadout Efficiency Spots
Rather than chasing the single flashiest location, high-level players often prioritize locations known for consistent weapon variety and utility items — things like shield potions, mobility items, or heals — over raw chest count. A location with 10 chests but perfect loadout variety often beats a location with 20 chests that are mostly duplicates.
Solos vs. Duos vs. Squads: Why Your Drop Should Change
A landing spot that works great in solos can be a poor choice in squads, and vice versa. Here’s why.
Solos
You have nobody to revive you and nobody to split attention with enemies. Prioritize spots where you can loot in a self-contained area (a single building complex, a tight cluster of houses) so you’re not sprinting across open ground between loot sources while exposed.
Duos
Duos benefits from spots with two viable loot paths close together, so you and your partner can split up briefly, loot faster, and reconvene. Communication is everything here — call out enemies immediately, and agree in advance on a fallback point if one of you gets caught in a fight solo.
Squads
With four players, you can afford (and often should) consider slightly hotter drops, since you have more bodies to trade fights, revive teammates, and overwhelm enemy squads with numbers. Squads is also where split-drops (mentioned above) shine — two duos hitting two nearby POIs, then merging.
Reading the Bus Path Like a Pro
This is the single most overlooked skill in landing spot theory, and it’s worth a deep dive.
Step 1: Watch the Bus’s Starting Direction
The moment the match loads in, note the bus’s flight path across the map. This single piece of information tells you which locations will be reachable early (and therefore more contested) versus which will require full commitment of your glider fuel to reach (and therefore see fewer squads).
Step 2: Count the Squads Jumping Before You
If you notice a large cluster of players already jumping out near a specific POI, that’s valuable real-time information. You can either commit to a location you know is safer, or — if you’re feeling confident — hang back briefly and let squads fight each other before diving into the aftermath as a third party.
Step 3: Judge Distance-to-Glider Ratio
The further you wait to jump, the less horizontal distance you can cover once you deploy your glider. Beginners should jump a bit earlier to guarantee they reach a chosen safe spot; advanced players sometimes deliberately jump late to control exactly where they land relative to enemy squads, accepting a tighter margin for a better read.
Step 4: Watch for Late Bus Divergence
Occasionally the bus path will curve or adjust slightly depending on the season’s map layout and mechanics. Always keep half an eye on the bus even after you’ve picked your general direction — a late curve can put unexpected competition near your intended spot.
What to Do the Moment You Land
Picking the right spot only matters if you execute well once you’re on the ground. Here’s a simple early-game loop that applies at every skill level:
- Loot the nearest container first, even if it’s not the best one visible. Speed beats optimization in the first ten seconds.
- Listen before you look. Footsteps and chest-opening sounds tell you more about nearby threats than your eyes will in a chaotic drop.
- Grab a weapon before shields. A weapon keeps you alive; shields keep you alive longer, but only if you survive the first fight.
- Check high ground early. Even a small elevation advantage changes the outcome of early skirmishes dramatically.
- Decide your rotation direction before you’re forced to. Don’t wait until the storm timer is at ten seconds to figure out where you’re going.
Common Landing Mistakes to Avoid
Even experienced players fall into these traps. Watch out for:
- Following the bus blindly. Just because the bus flies over a location doesn’t mean it’s a good drop — it just means it’s reachable.
- Chasing YouTube “best drop” videos without adjusting for the current season. Named locations, loot pools, and even map geography change frequently. A spot that was great two seasons ago might be completely reworked now.
- Ignoring your squad’s landing calls. In duos and squads, a mismatched drop decision (one player jumping one way, teammates going another) often costs more than a “bad” spot ever would.
- Overvaluing loot count and undervaluing terrain. A location with 30 chests surrounded by wide-open fields can be worse than a location with 15 chests and strong natural cover.
- Landing the same spot every single game out of habit. Predictability helps your opponents more than it helps you, especially in ranked or competitive settings where players scout common drop patterns.
Adapting Your Strategy Every Season
Because Fortnite’s map evolves constantly — new points of interest, reworked terrain, shifting loot pools, and rotating mechanics — no landing spot list stays accurate forever. The frameworks in this guide (loot-to-player ratio, storm positioning, rotation potential, and bus-path reading) are built to last because they’re principles, not a fixed list of named locations that will be outdated by the next map update.
Whenever a new season drops, spend your first handful of matches scouting rather than sweating your stats. Fly over new POIs, note loot density, watch where squads cluster, and update your personal mental map. Players who treat this scouting phase seriously almost always adapt faster than those who try to force last season’s drop spots onto a map that’s already changed.
Final Thoughts
Landing spot selection isn’t a minor detail tucked away at the start of a match — it’s a skill in its own right, every bit as trainable as building or aim. Beginners should chase safety and repetition, intermediate players should start layering in calculated risk, and advanced players should think in terms of information, tempo, and efficiency rather than just loot count.
The next time that door creaks open and the ground starts rushing up to meet you, you won’t be guessing. You’ll be running through the checklist: loot density, contest risk, storm position, rotation potential. That split-second decision is where good games are actually won — long before the first shot is ever fired.
